about this guide
The Class Roster is the listing of all students who have signed up to take a specific class. Viewing the Class Roster gives access to various student details and provides a way to communicate with students or complete administrative actions. This guide provides instructions for viewing which students are enrolled in the class and how to view or print a class roster with photos
How to view the class roster
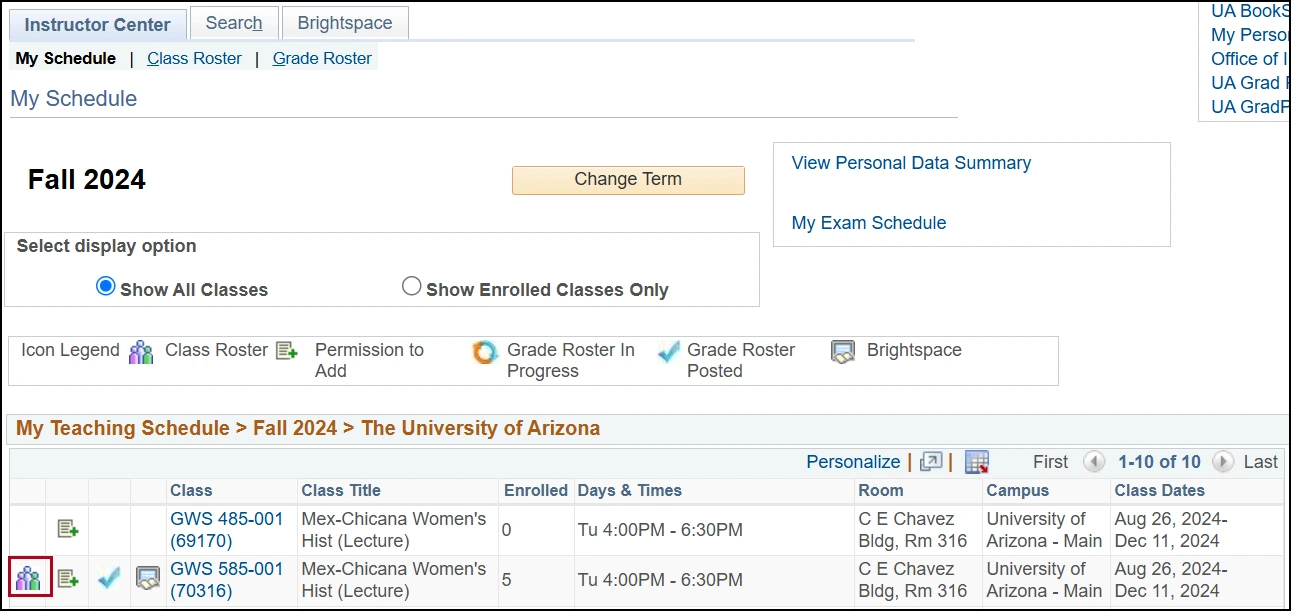
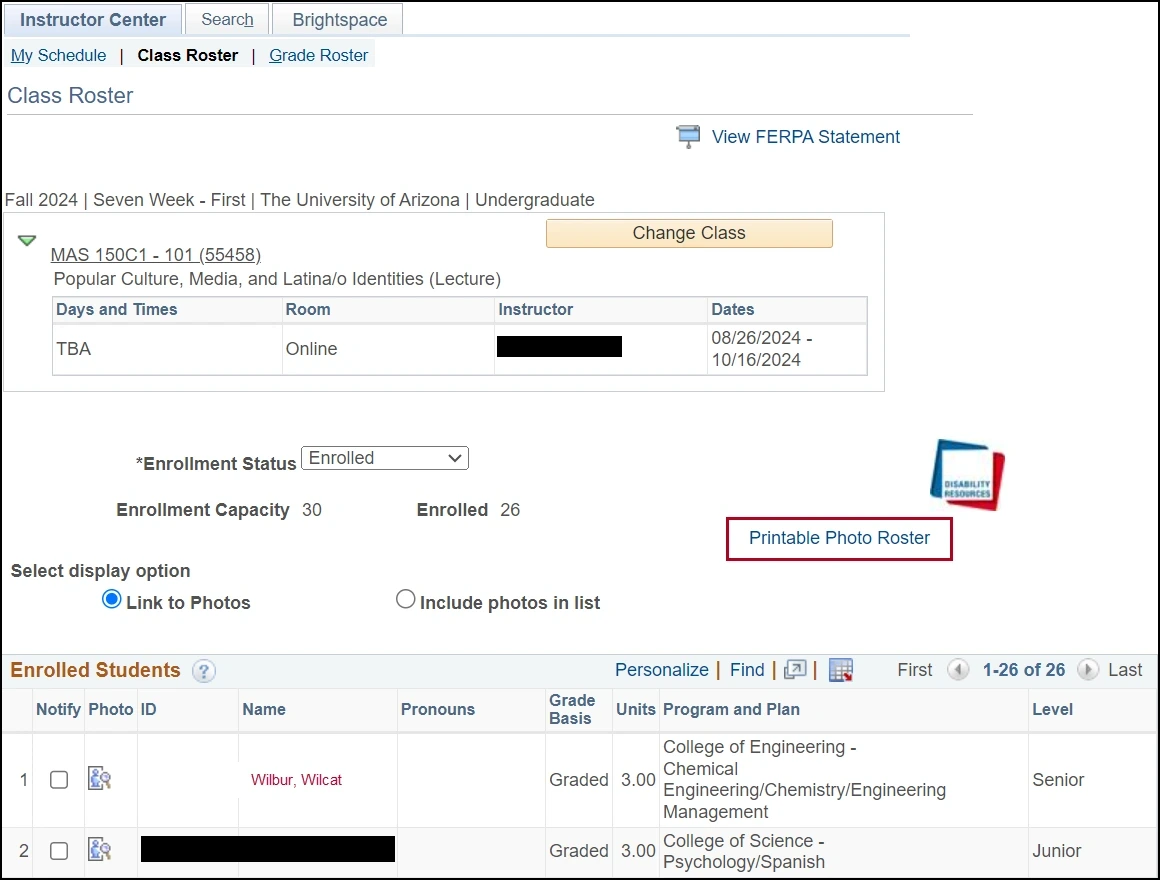
Step 1: Click the Class Roster icon for the class you want to view.
Note: The Class Roster icon only appears once students are registered for the class. If there are no students there is no roster, so there is no icon.
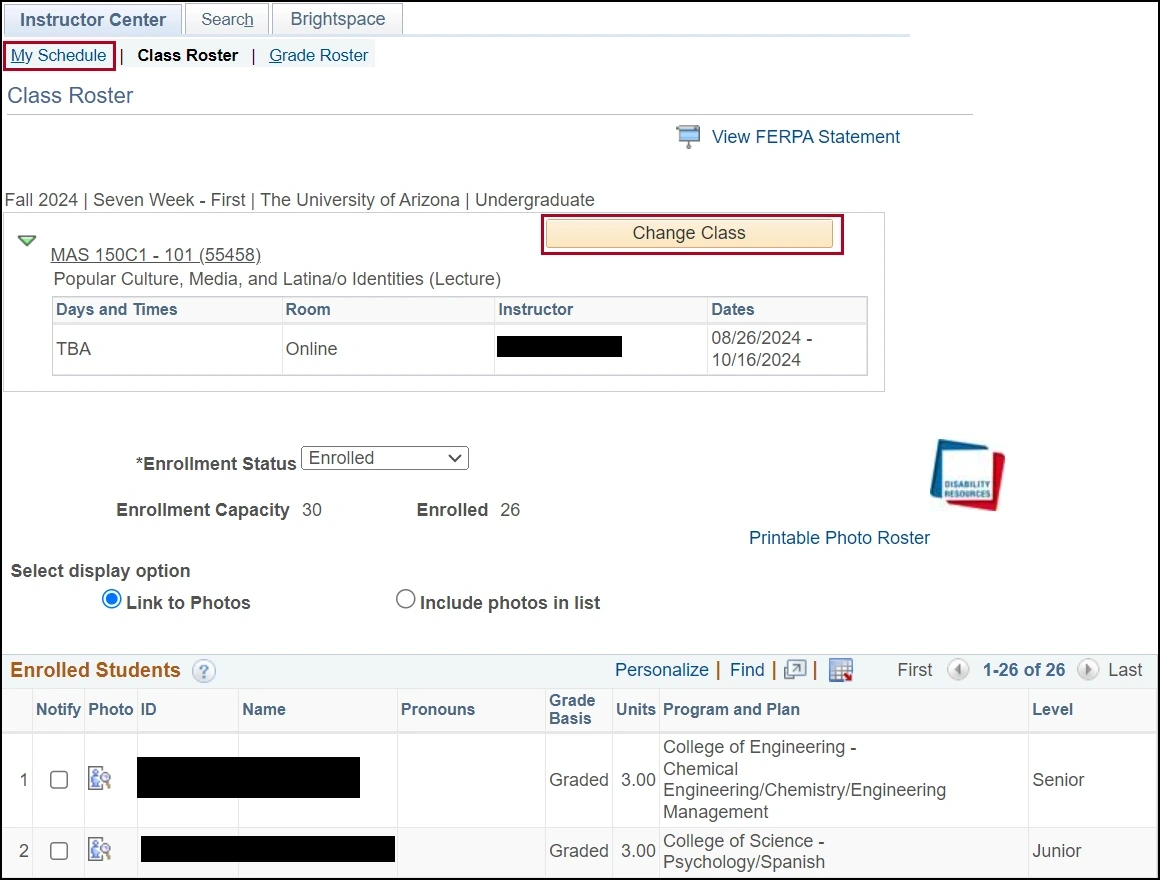
Step 2: To return to the main page, click the My Schedule tab near the top of the page or the Change Class button.
Once students are registered for a class, you can view the Class Roster, which also has the option to view student photos.
How to view student photos
From the Class Roster there are three ways to see the student photos:
Note: The default view will be displayed as Link to Photos as seen below.
Step 1: Click the Photo icon for any student.
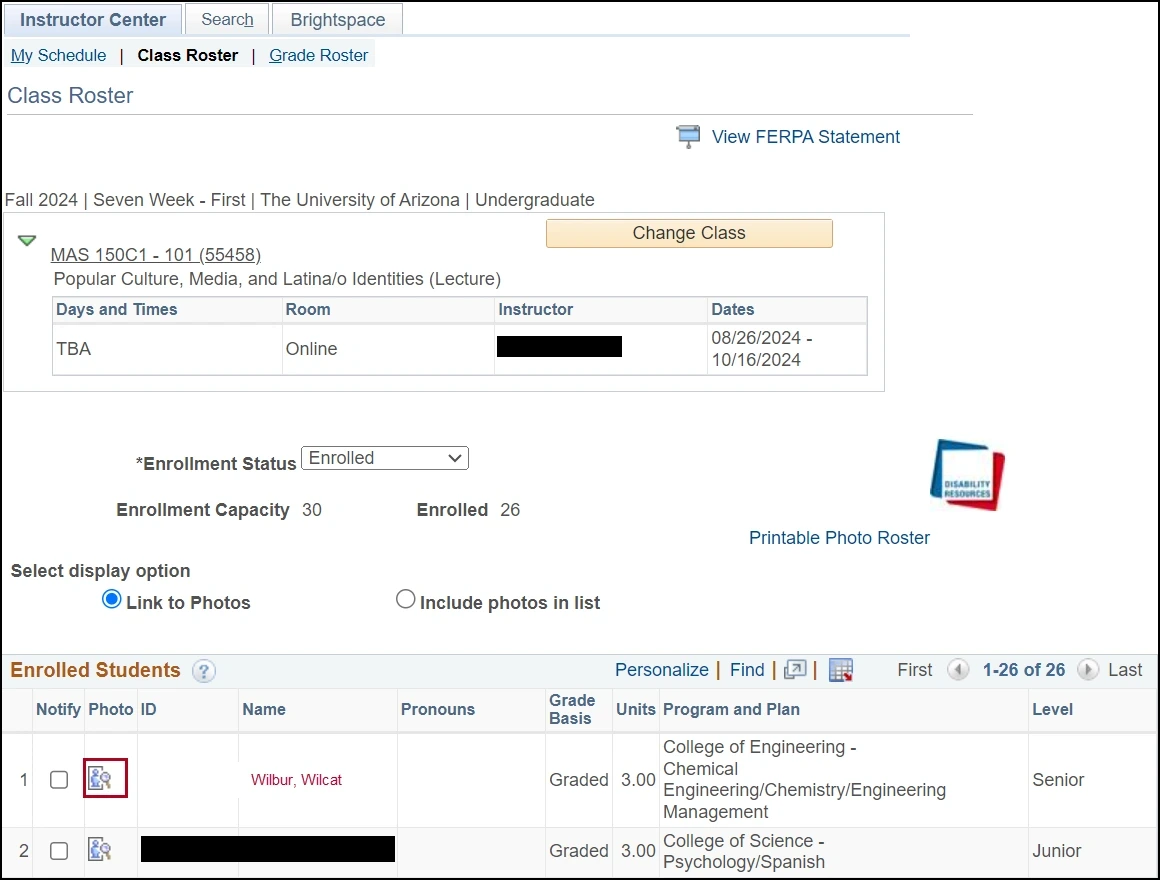
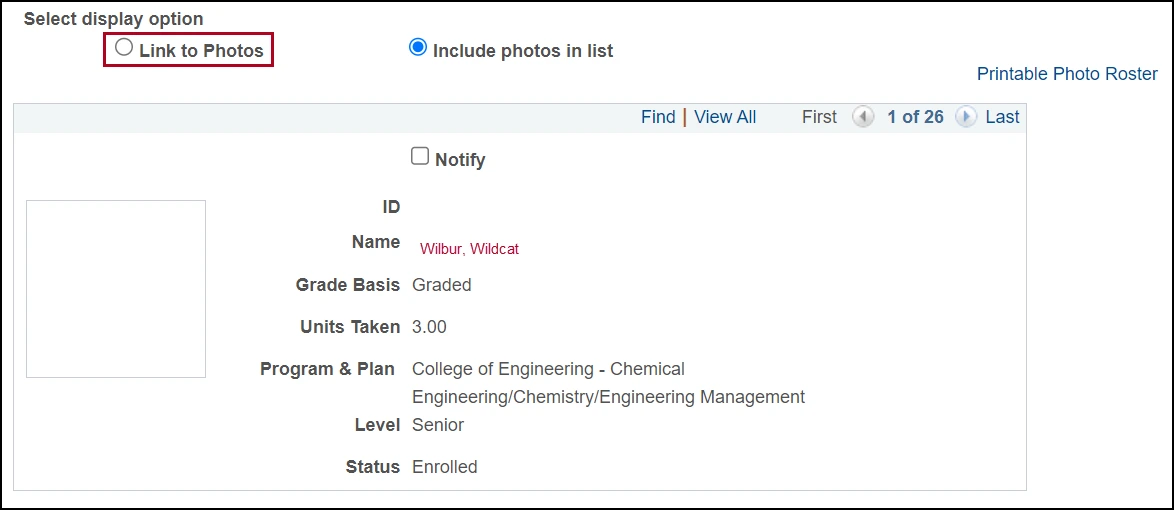
1a: This changes the display option to Include photos in list.
Navigate through the roster by clicking the previous and next arrows.
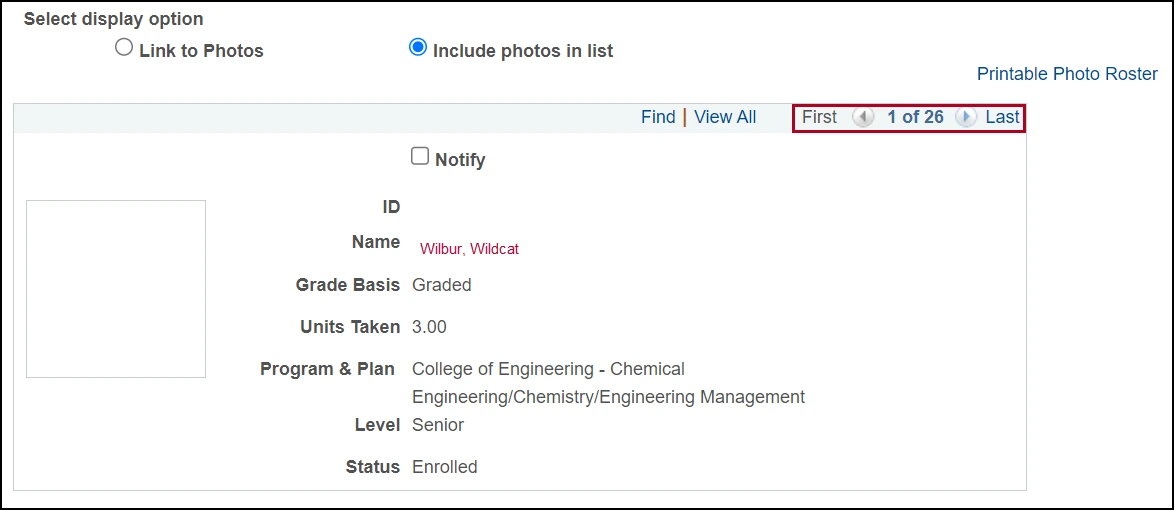
1b: To return to the roster without pictures, right above the student information, next to Select display option, select Link to Photos.

Step 2: Above the list of names, next to the Select display option, click Include photos in list.

2a: Use the previous and next arrows to navigate through the rows of student information. To see multiple rows at once so that you can scroll vertically, click View All or View 100 (whichever is applicable or displayed).

2b: To return to the roster without pictures, right above the student information, next to Select display option, click Link to Photos.
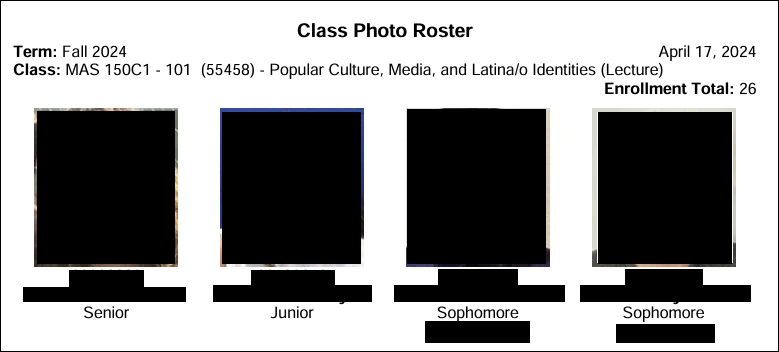
Step 3: Select the Printable Photo Roster icon to generate a roster with student photos.
3a: The printable Class Photo Roster includes term, class, student ID, student name and class standing.
Need Help? Contact Us!
Questions? Please contact Registration, Residency & Transcripts via email: reg-grades@arizona.edu or phone: 520-626-4822.
Revised 05/2025